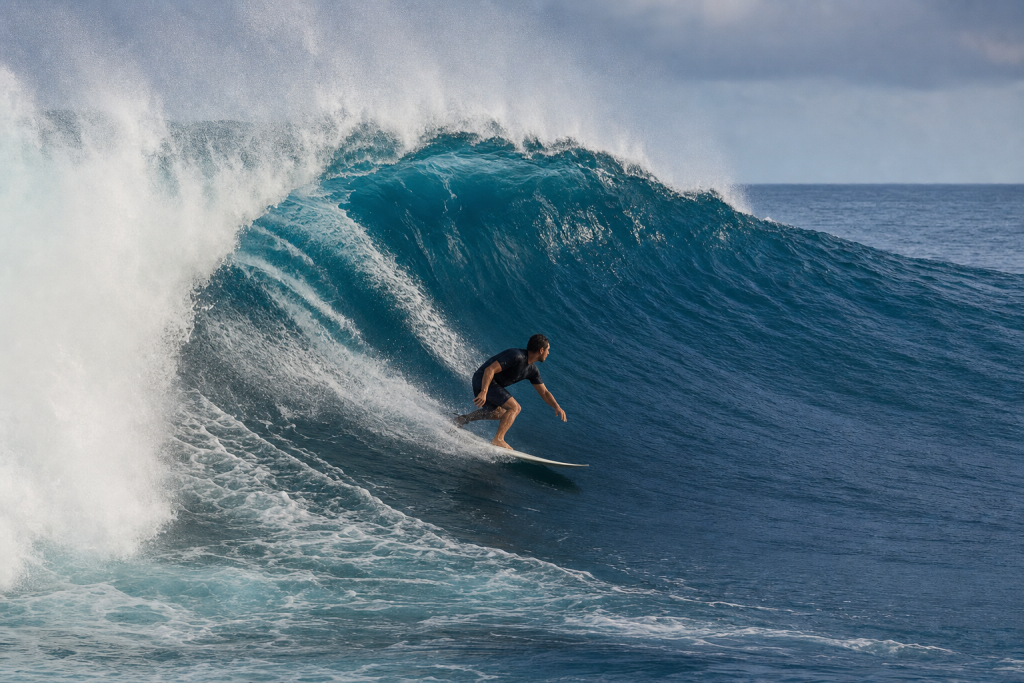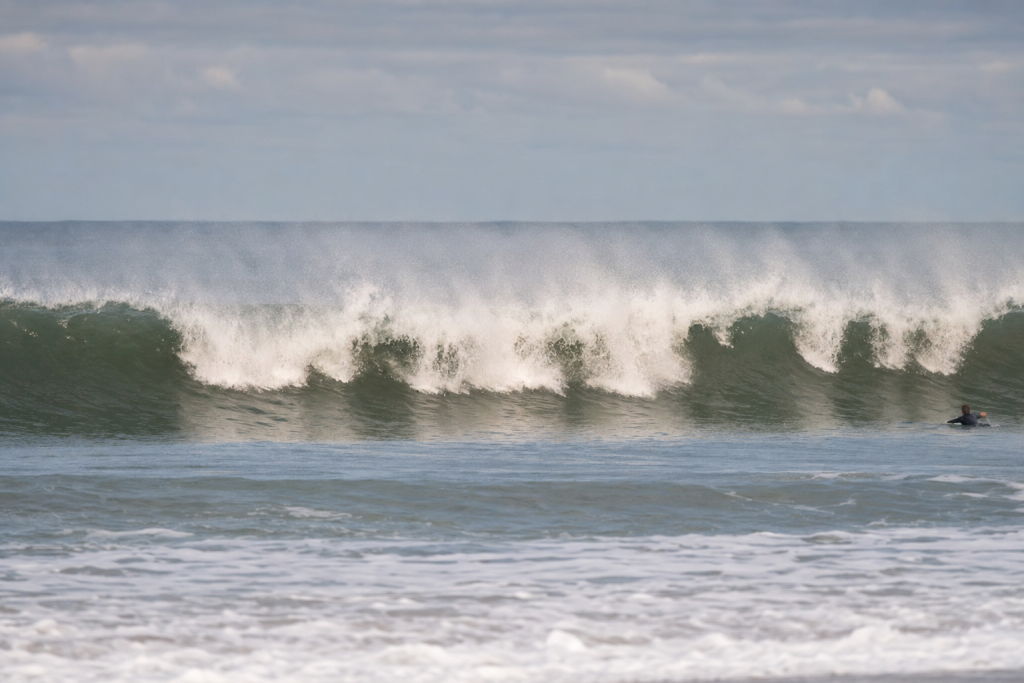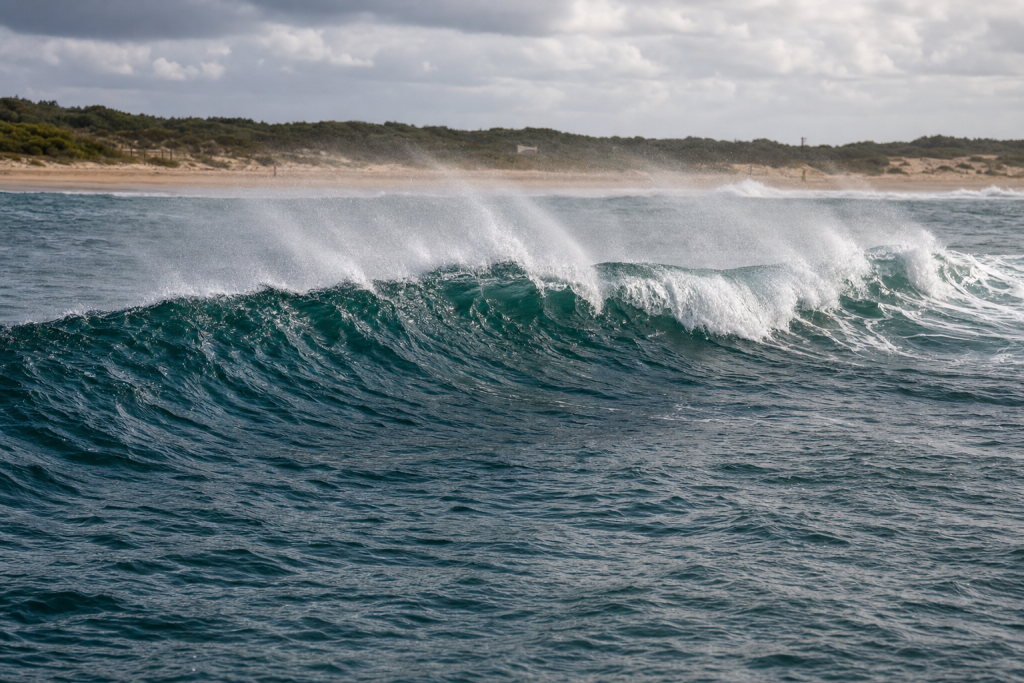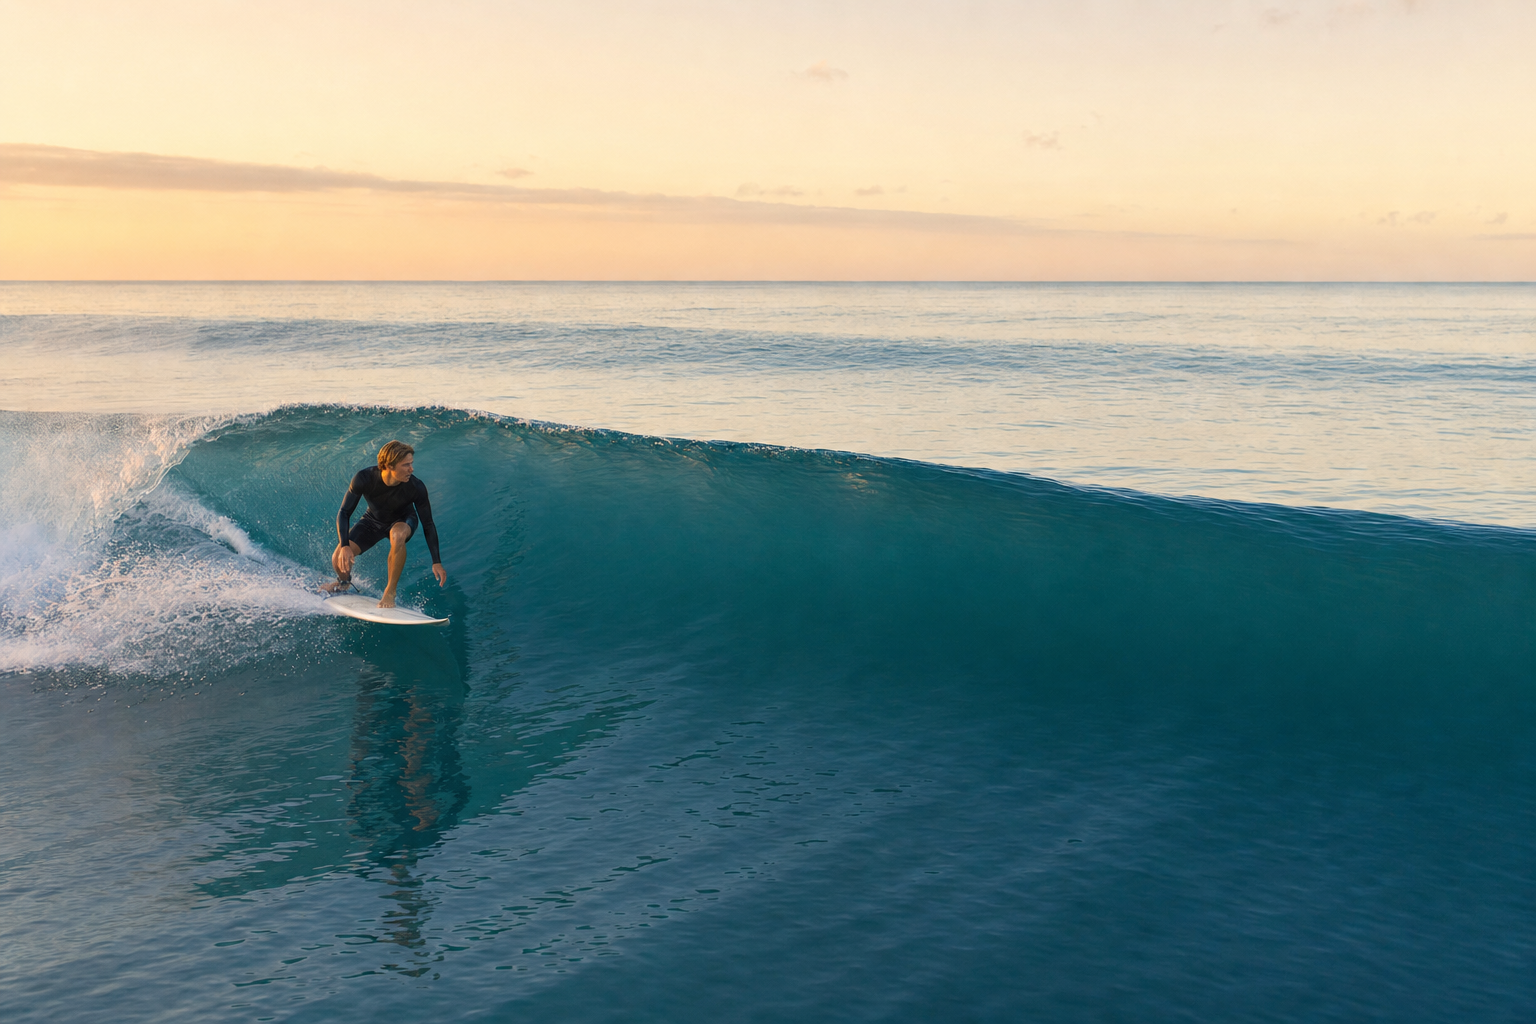
Few surf conditions feel as inviting as a clean, smooth lineup where each swell line rises out of the ocean like polished glass. Glassy waves are prized because they let surfers read and use the wave face with unusual precision. The board holds its rail better, the takeoff feels cleaner, and barrels look almost transparent from the inside. If you’re just getting into surfing, picking up a good surf technique book can help you understand how to make the most of these conditions. Glassy surf is not a separate category of swell so much as a surface condition, but when the right wind, tide, swell, and seabed all come together, it can turn an ordinary break into something close to perfect.
What Creates Glassy Waves?
Glassy waves form when the ocean surface is extremely smooth, which usually means little to no local wind. Wind is the main factor that roughens the water. When it blows across the surface, it creates ripples, chop, and texture. When it drops off, the surface can settle into a mirror-like state. Having the right gear also helps you take full advantage of glassy days — a reliable surfboard leash is one essential piece of kit worth having dialed in before you paddle out.
The cleanest glassy waves usually happen under one of three wind setups:
- No wind or very light wind: This creates the classic mirror-smooth surface surfers call “glassy.”
- Light offshore wind: Wind blows from land toward the ocean, smoothing the face and holding the wave open slightly longer.
- Light variable wind: Wind shifts gently without strongly disturbing the surface.
In practical terms, wind under about 5 knots often produces true glass. Offshore wind from 5 to 10 knots can still create excellent clean surf. Stronger offshore wind may groom the face, but it can also blow spray up the wave, slow the takeoff, and make the lip pitch harder.
Why Dawn Often Produces Glassy Waves
Many of the best glassy waves happen early in the morning. Overnight, land cools faster than the ocean. This temperature difference can generate a light land breeze that blows offshore at many beaches. Before the sun heats the land and kicks up an afternoon sea breeze, the lineup may stay smooth and clean for hours.
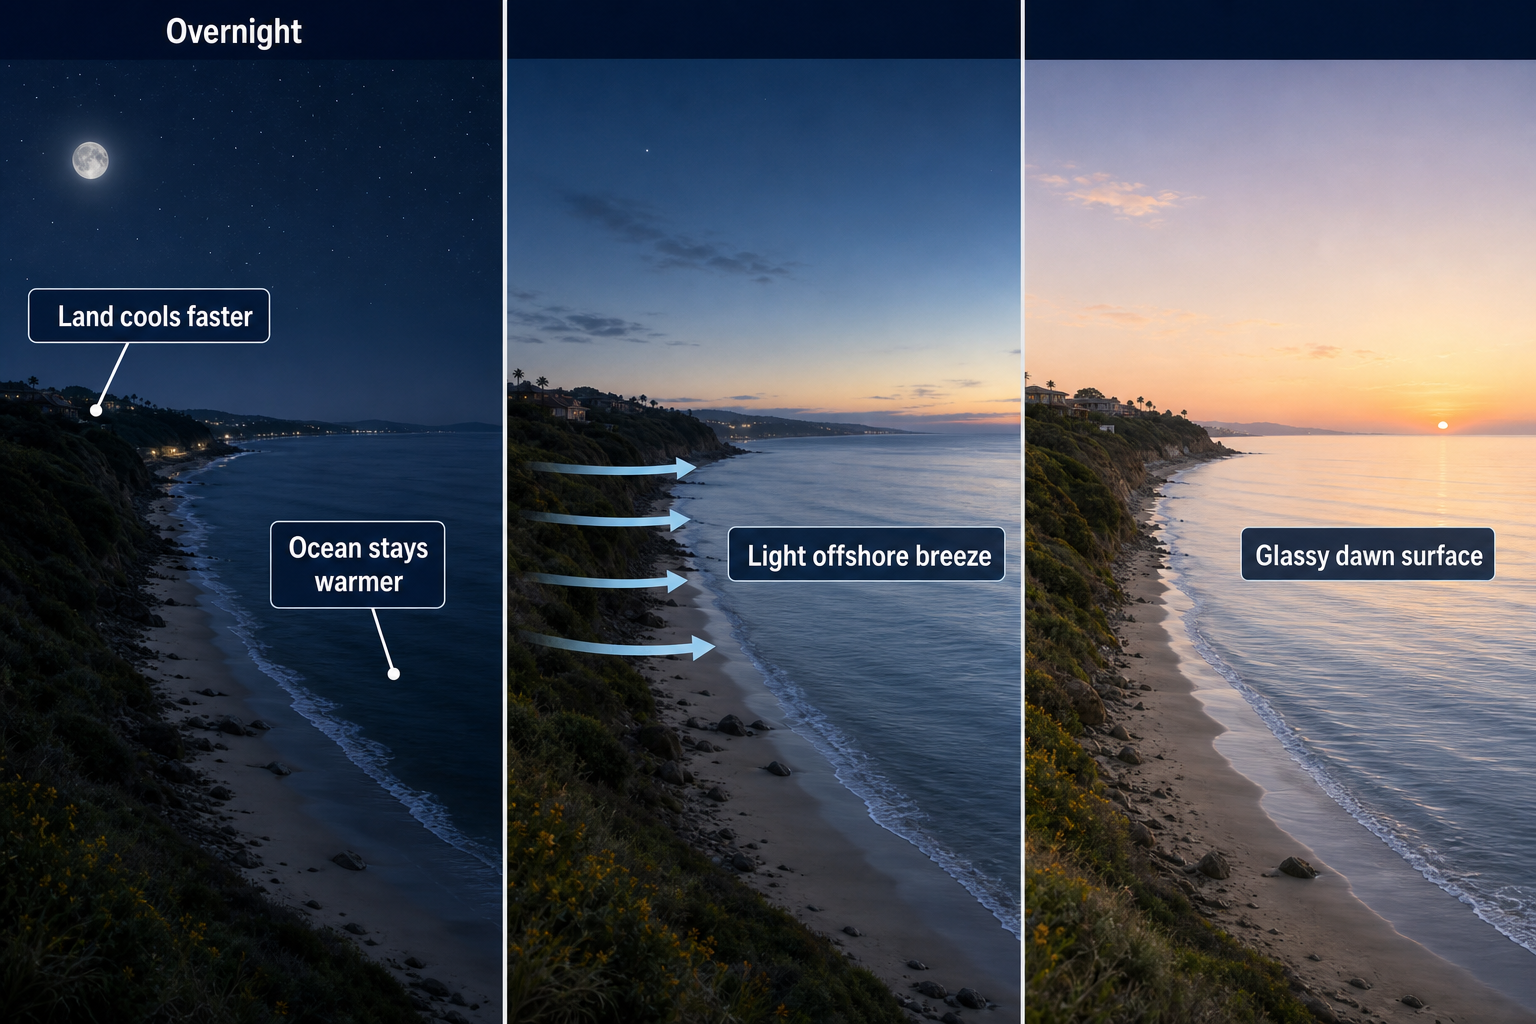
This is why “dawn patrol” is more than just surf culture tradition. It is often the most reliable time to find glassy surf, especially on coastlines that become windy by mid-morning.
How Offshore Wind Shapes Glassy Waves
Offshore wind makes waves look cleaner because it blows up the face rather than into it. This resists the wave’s forward collapse, delays the breaking moment, and can make the lip pitch more dramatically. A light offshore creates near-perfect surfing conditions. A strong offshore, on the other hand, can make waves harder to catch because it pushes back against you as you paddle down the face — and it can cause the lip to throw later and heavier, which suits expert tube riders but makes things tricky for everyone else.
Why Glassy Waves Are So Good for Surfing
Glassy waves are good for surfing because they offer a clean face, predictable shape, and less surface resistance. A board moves more freely over smooth water. Turns feel more precise, and the rail engages without skipping across chop. For beginners, glassy waves are easier to read — the peak, shoulder, and breaking line are all much clearer. For advanced surfers, the same conditions allow faster trimming, sharper turns, and deeper tube riding.
Glassy conditions improve surfing in several key ways:
- Better visibility: The wave face is easier to read from takeoff to exit.
- Smoother speed: Less chop means less drag on the board.
- Cleaner turns: The rail holds more consistently during bottom turns and cutbacks.
- Improved barrel quality: Hollow sections are easier to see through and navigate.
- More predictable timing: The lip, shoulder, and sections are easier to anticipate.
That said, glassy does not always mean easy. A smooth six-foot reef barrel can be far more demanding than a bumpy two-foot beachbreak. Glassiness improves the surface quality, but the wave’s power and difficulty still come from swell energy, bottom shape, and breaking pattern.
Glassy Waves in Terms of Shape, Power, and Quality
A glassy wave can be soft and playful, fast and hollow, or powerful and critical. The smooth surface does not define the whole wave — it simply reveals the wave’s true shape more clearly.
Shape of Glassy Waves
The best glassy waves often have a smooth, open face with a clearly defined peak and a peeling shoulder. On a pointbreak, this may look like a long wall unrolling down the line. On a reef, it may appear as a clean ledge that stands up sharply before throwing a barrel. On a beachbreak, it may form as a clean A-frame with both left and right shoulders offering a ride.
Poor-quality glassy waves can still be closeouts. A smooth wall that breaks all at once has no real use for surfing regardless of how beautiful it looks. The ideal shape must peel at a speed the surfer can match.
Power and Speed of Glassy Waves
Power comes mostly from swell period, wave height, and how suddenly the wave hits shallow water. A long-period swell carries more energy than a short-period swell of the same height. When that energy meets a reef, sandbar, or point in the right way, glassy waves can become fast and powerful. Speed depends on the angle and steepness of the breaking wave. A long, sloping point wave may be quick but manageable, while a shallow reef barrel may accelerate almost immediately after takeoff.
Height, Steepness, and Hollowness of Glassy Waves
Glassy waves can range from ankle-high peelers to double-overhead barrels. For most surfers, waist-high to overhead waves offer the best balance of speed and control. Steepness is controlled by the seabed and swell energy — a wave breaking over a gradual sandbar may have a soft, sloping face, while a wave breaking over a shallow reef can stand up quickly and throw a hollow lip.
Hollowness increases when deeper water suddenly meets a shallow bottom. The wave’s base slows while the top keeps moving, causing the lip to pitch forward. In glassy conditions, hollow waves become especially photogenic because the barrel wall is smooth and clearly defined. If you want to capture those moments, an action camera mounted to your board or helmet can do the job well, and pairing it with a high-capacity microSD card means you won’t run out of storage mid-session.
Are Glassy Waves Easy or Hard to Surf?
Glassy waves are generally easier to surf than choppy waves of the same size and shape. The face is cleaner, the board tracks better, and you can make more accurate decisions from the moment you take off. However, difficulty still depends on the type of wave:
- Small glassy beachbreaks: Usually beginner-friendly if the wave breaks gently.
- Glassy pointbreaks: Often ideal for progression because the wave peels predictably.
- Glassy reef waves: Can be advanced because they tend to be fast, hollow, and steep.
- Glassy big waves: Demanding because the smooth face can hide just how much power the swell is carrying.
One interesting challenge is that glassy waves can be harder to judge from the lineup. Without surface texture, the ocean may look deceptively calm between sets. Long-period glassy swells can also arrive in widely spaced pulses, making timing and positioning especially important.
How to Surf Glassy Waves Well
Surfing glassy waves is about using the clean face efficiently. Because the board encounters less chop, small adjustments in weight, angle, and rail pressure all matter more. Smooth technique gets rewarded.
Choose the Right Board for Glassy Waves
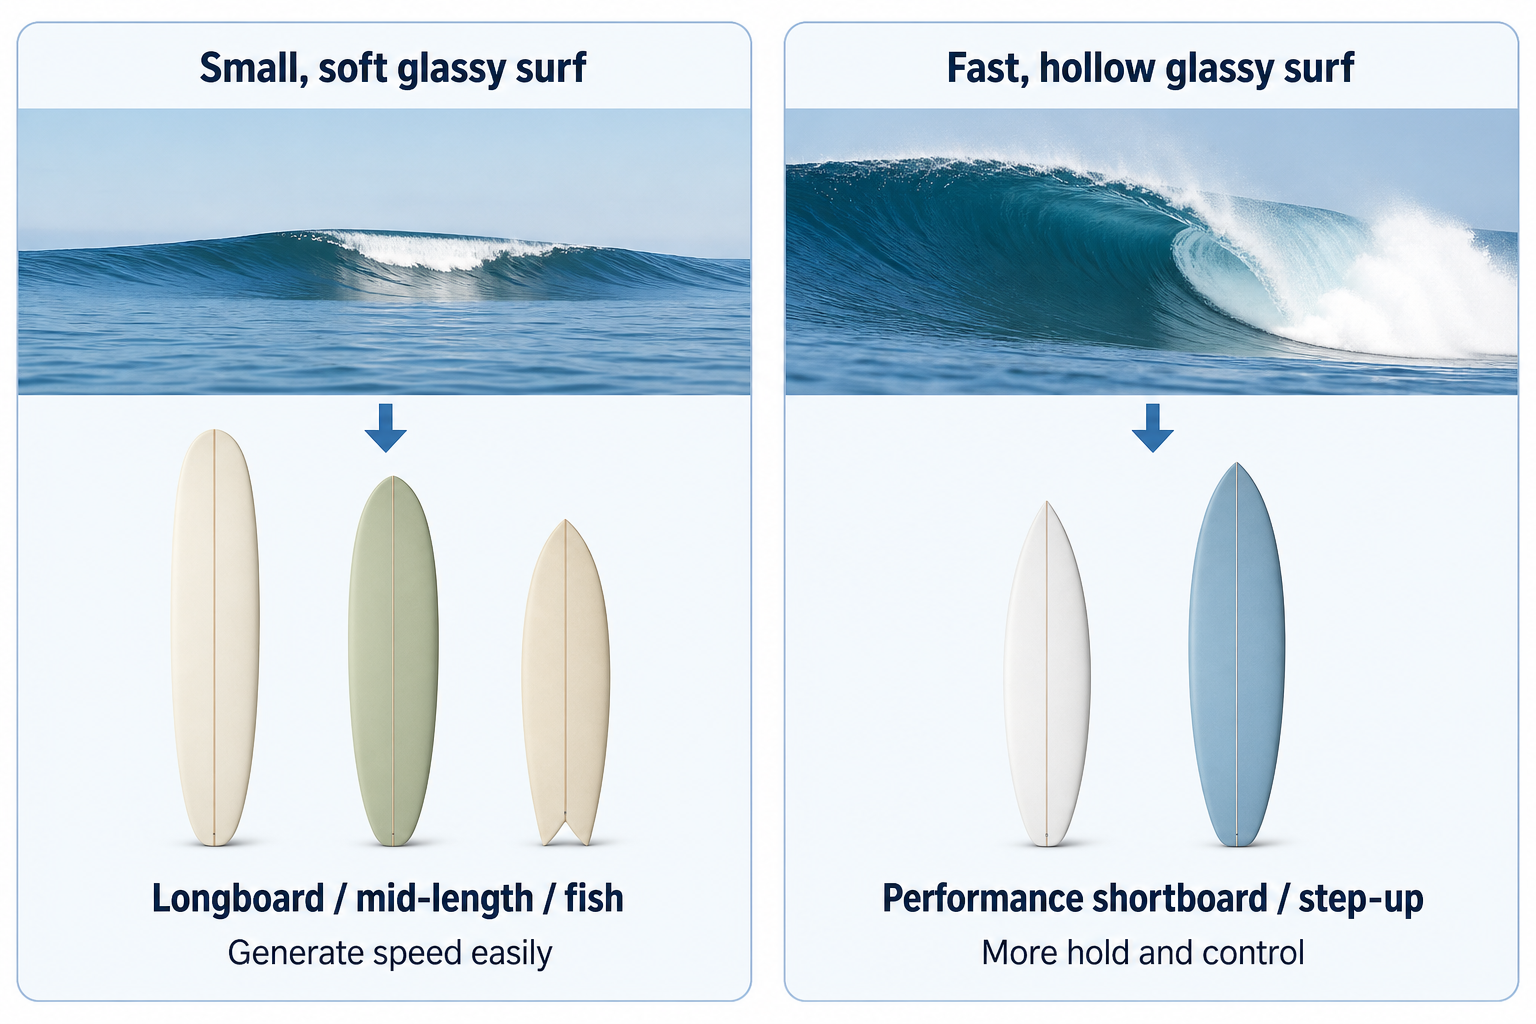
The best board depends on the wave’s shape rather than the glassy surface itself. In small, soft glassy surf, a longboard, mid-length, or fish can generate speed easily. In fast, hollow glassy surf, a performance shortboard or step-up gives more hold and control. As a simple rule, match the board to the wave’s speed and curve — flat-faced waves suit boards with easy glide, while steep waves suit boards with more rocker and sharper rails.
Your fins also play a big role in how the board responds on a clean face. A well-matched set of performance tri fins can improve drive and flow through turns, and if your board runs a different box system, a futures-compatible fin set is worth considering. A good surf traction pad will also help you stay locked in during critical sections, and fresh surf wax on the deck never hurts when you need a confident pop-up.
Position Early for Glassy Waves
Because glassy waves are clean, the peak is usually easier to identify. Watch where the first feathering line appears — that is often where the wave will begin to break. On a pointbreak, sit slightly deeper than the shoulder but not behind the fastest section. On a reef, line up with fixed markers on land. On a beachbreak, stay mobile because peaks may shift with each set.
Take Off Smoothly on Glassy Waves
A clean wave face lets the board accelerate quickly once it starts planing. Paddle with purpose, match the wave’s speed, and avoid standing too late. On a fast or hollow glassy wave, angle the takeoff slightly down the line. On a softer wave, a straighter drop followed by a bottom turn often works better. Glassy conditions make it easier to set a precise rail — look where you want to go, keep your upper body quiet, and let the board run before forcing a turn.
Use Trim and Rail Control on Glassy Waves
Clean waves reward good trimming. Stay high on the face when you need speed and drop lower when you need space for a bottom turn. On a long wall, small pumps may be enough to stay ahead of a closing section. For turns, use the smooth face to draw longer lines. A glassy wave gives the rail more consistent contact, so drawn-out carves often feel better than rushed direction changes.
Surfing Glassy Barrels
In hollow glassy waves, the barrel line is easier to see, but the real challenge is matching speed. Take off with enough angle, set a high line, and control your pace with subtle pressure rather than dramatic movements. If the barrel is running fast, stay compact and project forward. If it slows down, a slight stall can help you stay in the pocket. The key is to read the lip line early — a makeable barrel has an open exit and a shoulder that continues down the line.
If you’re surfing reef breaks regularly, it’s worth considering extra protection. A low-profile surf helmet can reduce the risk of head injuries in hollow waves, and an impact vest adds a layer of protection for your torso without restricting movement.
How to Recognize Rideable Glassy Waves Versus Unmakeable Ones
Glassy conditions can make almost every wave look tempting. The surface may be beautiful, but not every smooth wave is worth paddling into. The difference is in the peel, the shoulder, and the section speed.
Signs of a Rideable Glassy Wave
- The wave breaks from one end first: A peeling wave gives the surfer somewhere to go.
- The shoulder stays open: The unbroken face continues down the line ahead of the breaking section.
- The lip line is tapered: A diagonal lip usually means the wave will peel rather than dump.
- The peak has a clear direction: Lefts and rights are easier to read when one side stands up first.
- The section speed matches the board: The wave should be fast, but not impossible to outrun.
Signs of an Unmakeable Glassy Wave
- The whole line stands up at once: This is the classic closeout — nowhere to go.
- The shoulder disappears immediately: No open face means no ride worth having.
- The lip throws too far forward: A barrel with no exit is rarely makeable.
- The wall is perfectly straight: A straight swell hitting a straight beach almost always closes out.
A good habit is to watch several sets before paddling into position. Notice whether the best waves peel consistently from the same peak, and whether surfers are actually making sections or getting caught inside the same closeout pattern every time.
The Best Bottom Structure for Glassy Waves
Glassy conditions improve the surface, but the seabed creates the wave’s actual form. The best glassy waves usually break over a bottom that organizes swell energy into a clean, peeling shape.
Pointbreak Bottoms
Pointbreaks are some of the best places to find long glassy waves. A swell wraps around a headland and breaks gradually along the curve of the coast, creating a peeling wall with a predictable shoulder. Rocky and cobblestone points can be especially consistent because the bottom doesn’t shift much. Sand-bottom points can be excellent too, but their quality depends on how storms and currents have arranged the sand.
Reef Bottoms
Reefs can create some of the most perfect glassy waves in the world. Because the bottom is fixed, the wave often breaks in the same spot with a repeatable shape. A reef that rises sharply from deep water can produce hollow, powerful waves, while a reef with a more gradual slope can produce long, workable walls. The best reef setups usually have a defined takeoff zone, a clean wall, and a channel or deeper section where the wave stops breaking.
Sandbars
Sandbars can create excellent glassy waves when their shape is right. A well-formed bar can produce A-frames, running lefts, or long rights. The challenge is that sandbars shift. A beach can be perfect one week and mediocre the next. For rideable glassy beachbreaks, the best sandbars usually have slight curves or gaps — a perfectly straight sandbar often creates closeouts when swell lines arrive head-on.
Seabed Gradient and Wave Shape
The seabed gradient controls how quickly a wave transitions from open swell to breaking wave.
- Gentle gradient: Softer waves with slower, more forgiving sections.
- Moderate gradient: Balanced waves with open faces and manageable speed.
- Steep gradient: Hollow waves that pitch quickly and break with more force.
For most surfers, a moderate gradient produces the most enjoyable glassy waves. For expert barrel riders, a steeper reef or ledge is usually the goal.
How Swell Direction and Period Affect Glassy Waves
Swell direction determines whether the wave hits the bottom at a useful angle. Even with a perfectly glassy surface, the wrong swell direction can leave a spot flat, sectiony, or closed out.
The Best Swell Angle
The best swell angle depends entirely on the break. For a pointbreak, the swell needs to wrap into the point at an angle that allows the wave to peel along the coast. Too much angle may miss the break entirely. Too little may cause the wave to shut down. For a beachbreak, a slightly angled swell often creates better-defined peaks than a swell arriving straight on. For a reef, the ideal direction is usually quite specific because the swell must meet the ledge at the right position. In general, a rideable wave needs enough direct energy to break with shape, and enough angle to create a peeling shoulder.
How Swell Period Affects Glassy Waves
Swell period is the time between successive waves in a set. Longer-period swells carry more energy and feel more powerful when they reach shallow water.
- 8 to 11 seconds: Often fun for beachbreaks, especially with well-shaped sandbars.
- 12 to 16 seconds: A strong range for reefs, points, and quality beachbreaks.
- 17 seconds and above: Powerful groundswell that can be exceptional at the right spot.
Long-period swell tends to make glassy waves more organized and powerful. It can also cause closeouts at exposed beachbreaks if the swell arrives too directly. Short-period swell can still be glassy, but it is often peakier and less consistent.
The Best Wave Height for Glassy Waves
The ideal wave height depends on the surfer and the break. For learning and relaxed cruising, knee-high to chest-high glassy waves can be excellent. For performance surfing, chest-high to overhead waves often provide the best speed and open face. For advanced tube riding, overhead and larger glassy reef waves are usually ideal. Height should also match the spot — some waves need size before they break properly, while others become too fast or sectiony when the swell gets large.
The Best Tide and Local Factors for Glassy Waves
Tide does not usually create glassiness by itself, but it strongly affects wave quality. The same glassy swell can be perfect at one tide and poor at another.
Best Tide for Glassy Waves
- Reefs: Often best at mid tide, though some shallow reefs need higher water to be safe.
- Points: Often work across a wider tide range when swell direction is favorable.
- Beachbreaks: Highly dependent on the sandbar’s exact shape and position.
Low tide generally makes waves steeper and hollower. High tide can soften the wave and slow it down. Mid tide often gives the best balance, but local knowledge matters far more than any general rule.
Other Factors That Help Create Glassy Waves
- Wind shelter: Cliffs, hills, and headlands can block wind from reaching the lineup.
- Clean groundswell: Distant storm swells are usually better organized than local wind swell.
- Light current: Strong tidal flow can wrinkle the surface and distort the wave face.
- Stable weather: Calm high-pressure mornings consistently produce the smoothest conditions.
Rain can sometimes smooth the surface by flattening tiny ripples, but it does not fix poor wind, the wrong swell direction, or a badly shaped sandbar. If you’re surfing colder water during glassy morning sessions, a good full wetsuit will keep you comfortable enough to stay out longer. A UPF rash guard is a practical option in warmer water, and if you’re surfing a reef break with a rocky entry and exit, a pair of reef booties can save your feet. It’s also worth keeping a surfboard ding repair kit in your bag — shallow reef sessions and glassy barrels are a beautiful combination, but they are not always kind to your board.
Famous Surf Spots Known for Glassy Waves
No surf spot is glassy all the time. Even the world’s best breaks need the right wind and swell to line up. Still, some breaks are famous because when everything comes together, the conditions they produce are exceptionally clean and smooth.
Jeffreys Bay, South Africa
Jeffreys Bay is one of the world’s most celebrated right-hand pointbreaks. When a southwest groundswell meets offshore west or northwest wind, the wave becomes a long, fast, glassy wall. Its individual sections have their own names because a single ride can stretch for several hundred meters when everything lines up perfectly.
Rincon, California
Rincon is a classic right-hand pointbreak that can produce long, glassy winter waves. It works best with clean northwest swell and light offshore or calm wind. On a good day, it offers smooth, rolling walls that suit both trimming and high-performance surfing equally well.
Kirra and Snapper Rocks, Australia
The Gold Coast points can produce long sand-bottom right-handers under the right conditions. East or southeast swell with offshore west or southwest wind can generate glassy, fast, and sectioning waves. Kirra is especially famous for long tubes when the sandbank is properly formed.
Cloudbreak, Fiji
Cloudbreak is a powerful left reefbreak that can become flawless in clean conditions. Long-period southwest swell and favorable trade winds can create long, hollow, glassy waves across the reef. It is known for combining genuine beauty with serious, consequential power.
Teahupoʻo, Tahiti
Teahupoʻo is one of the most recognizable hollow waves on Earth. It breaks over a very shallow reef and is famous for thick, glassy barrels during strong southwest swells. Light offshore wind funneling down from the mountains can make the wave face almost perfectly smooth even as the lip throws with enormous force.
Uluwatu, Bali
Uluwatu is a left-hand reefbreak that often benefits from dry-season offshore trade winds. South and southwest Indian Ocean swells wrap into the reef and create long, glassy walls with multiple sections. Depending on size and tide, it can range from playful and accessible to powerful and demanding.
Pipeline, Hawaii
Pipeline is famous for heavy, hollow waves breaking over a shallow reef on Oahu’s North Shore. When clean northwest swell combines with light or favorable wind, the wave forms glassy barrels of extraordinary shape and power. Its perfection comes from both the smooth surface and the reef’s abrupt rise from deep water.
Malibu, California
Malibu is a long right-hand pointbreak known for smooth summer peelers. South swell with light morning wind can produce glassy waves that are ideal for trimming, noseriding, and flowing turns. It is a good example of how glassy conditions enhance softer, longer waves just as much as they enhance hollow ones.
How to Forecast Glassy Waves
To find glassy waves, check wind first, then swell, then tide. A forecast with a perfect swell but onshore wind is usually a disappointment. A smaller swell with calm wind can be significantly better. A practical checklist looks like this:
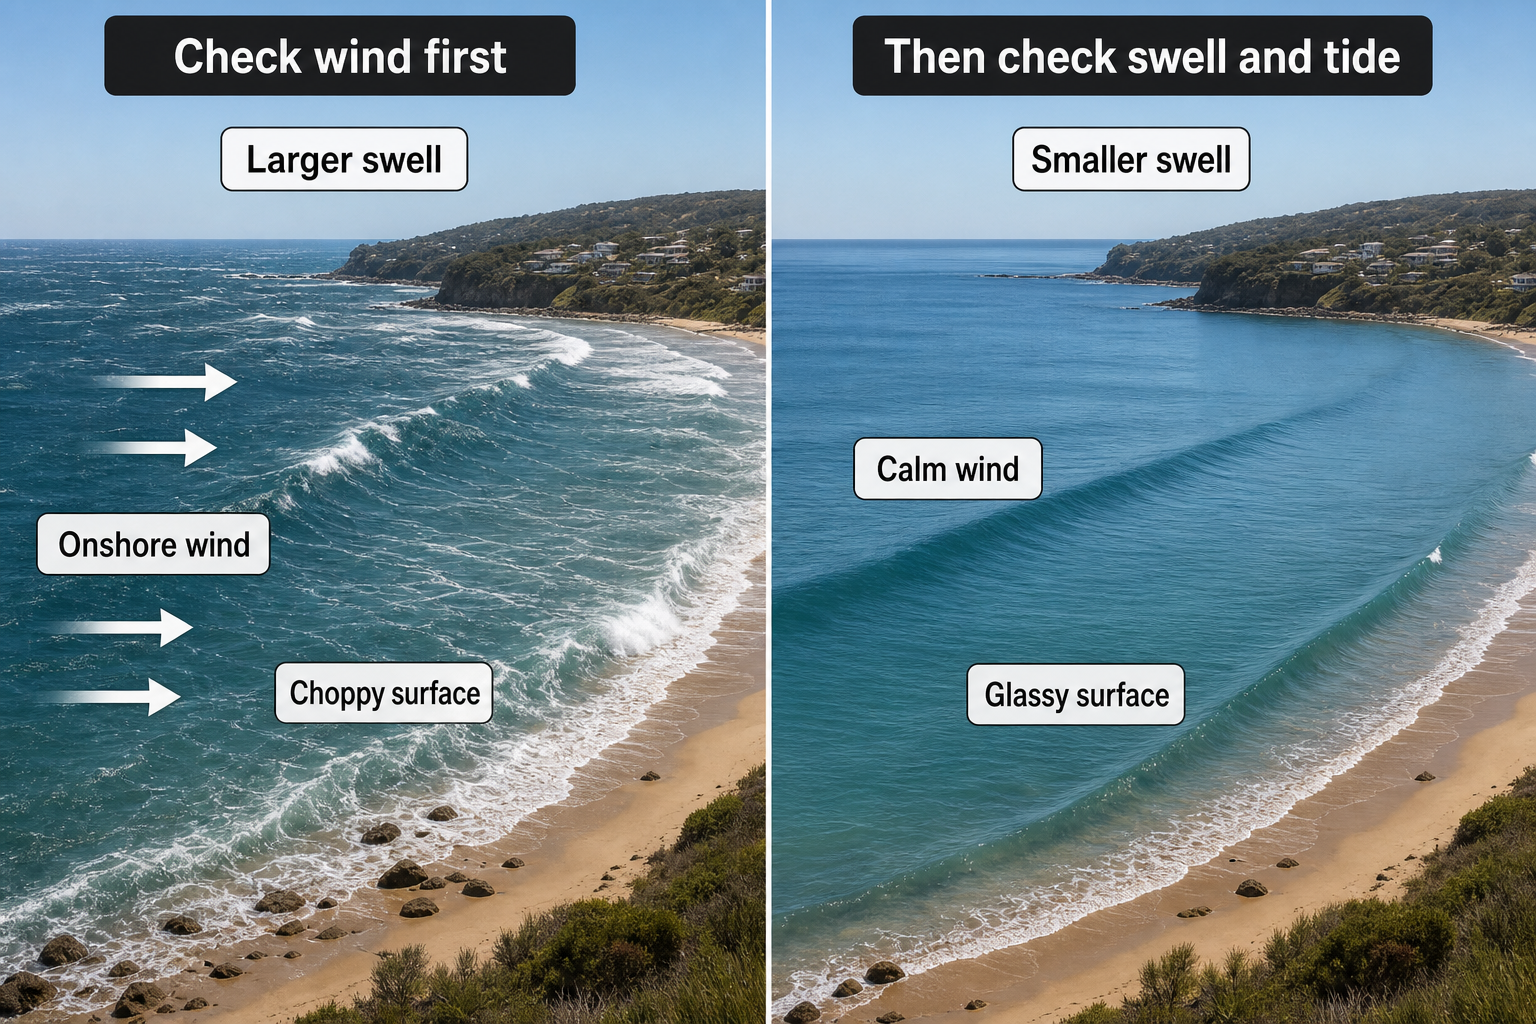
- Wind: Calm, light offshore, or very light variable.
- Swell direction: Correct for the break’s exposure and orientation.
- Swell period: Long enough to organize the waves, but appropriate for the break.
- Swell height: Matched to the spot and the surfer’s ability.
- Tide: Suited to the reef, point, or sandbar in question.
- Local shelter: Headlands or cliffs protecting the lineup from wind.
The most effective approach is to learn how one specific break responds over time. Track the wind direction, swell angle, period, height, and tide on every session that is good. Patterns become clear quickly. Glassy waves may look magical, but they are almost always the product of repeatable and learnable conditions.
Glassy waves are born from calm or favorable wind, but their true quality comes from the full combination of swell energy and seabed shape. A smooth surface makes surfing feel cleaner and more precise, yet the best sessions happen when glassiness meets the right bottom structure, swell angle, period, height, and tide. Whether it is a soft morning pointbreak or a flawless reef barrel, glassy surf shows a wave at its most readable and refined. Learning to recognize those conditions — and getting there before the wind picks up — is one of the most rewarding skills any surfer can develop.